An exterior bead of caulk can separate from one side while still looking intact from a distance. A ground-level visual check can reveal changes worth investigating, but it cannot establish whether the underlying joint is sound. Do not turn every visible opening into a place to add more sealant.
Compare a few joints from safe ground
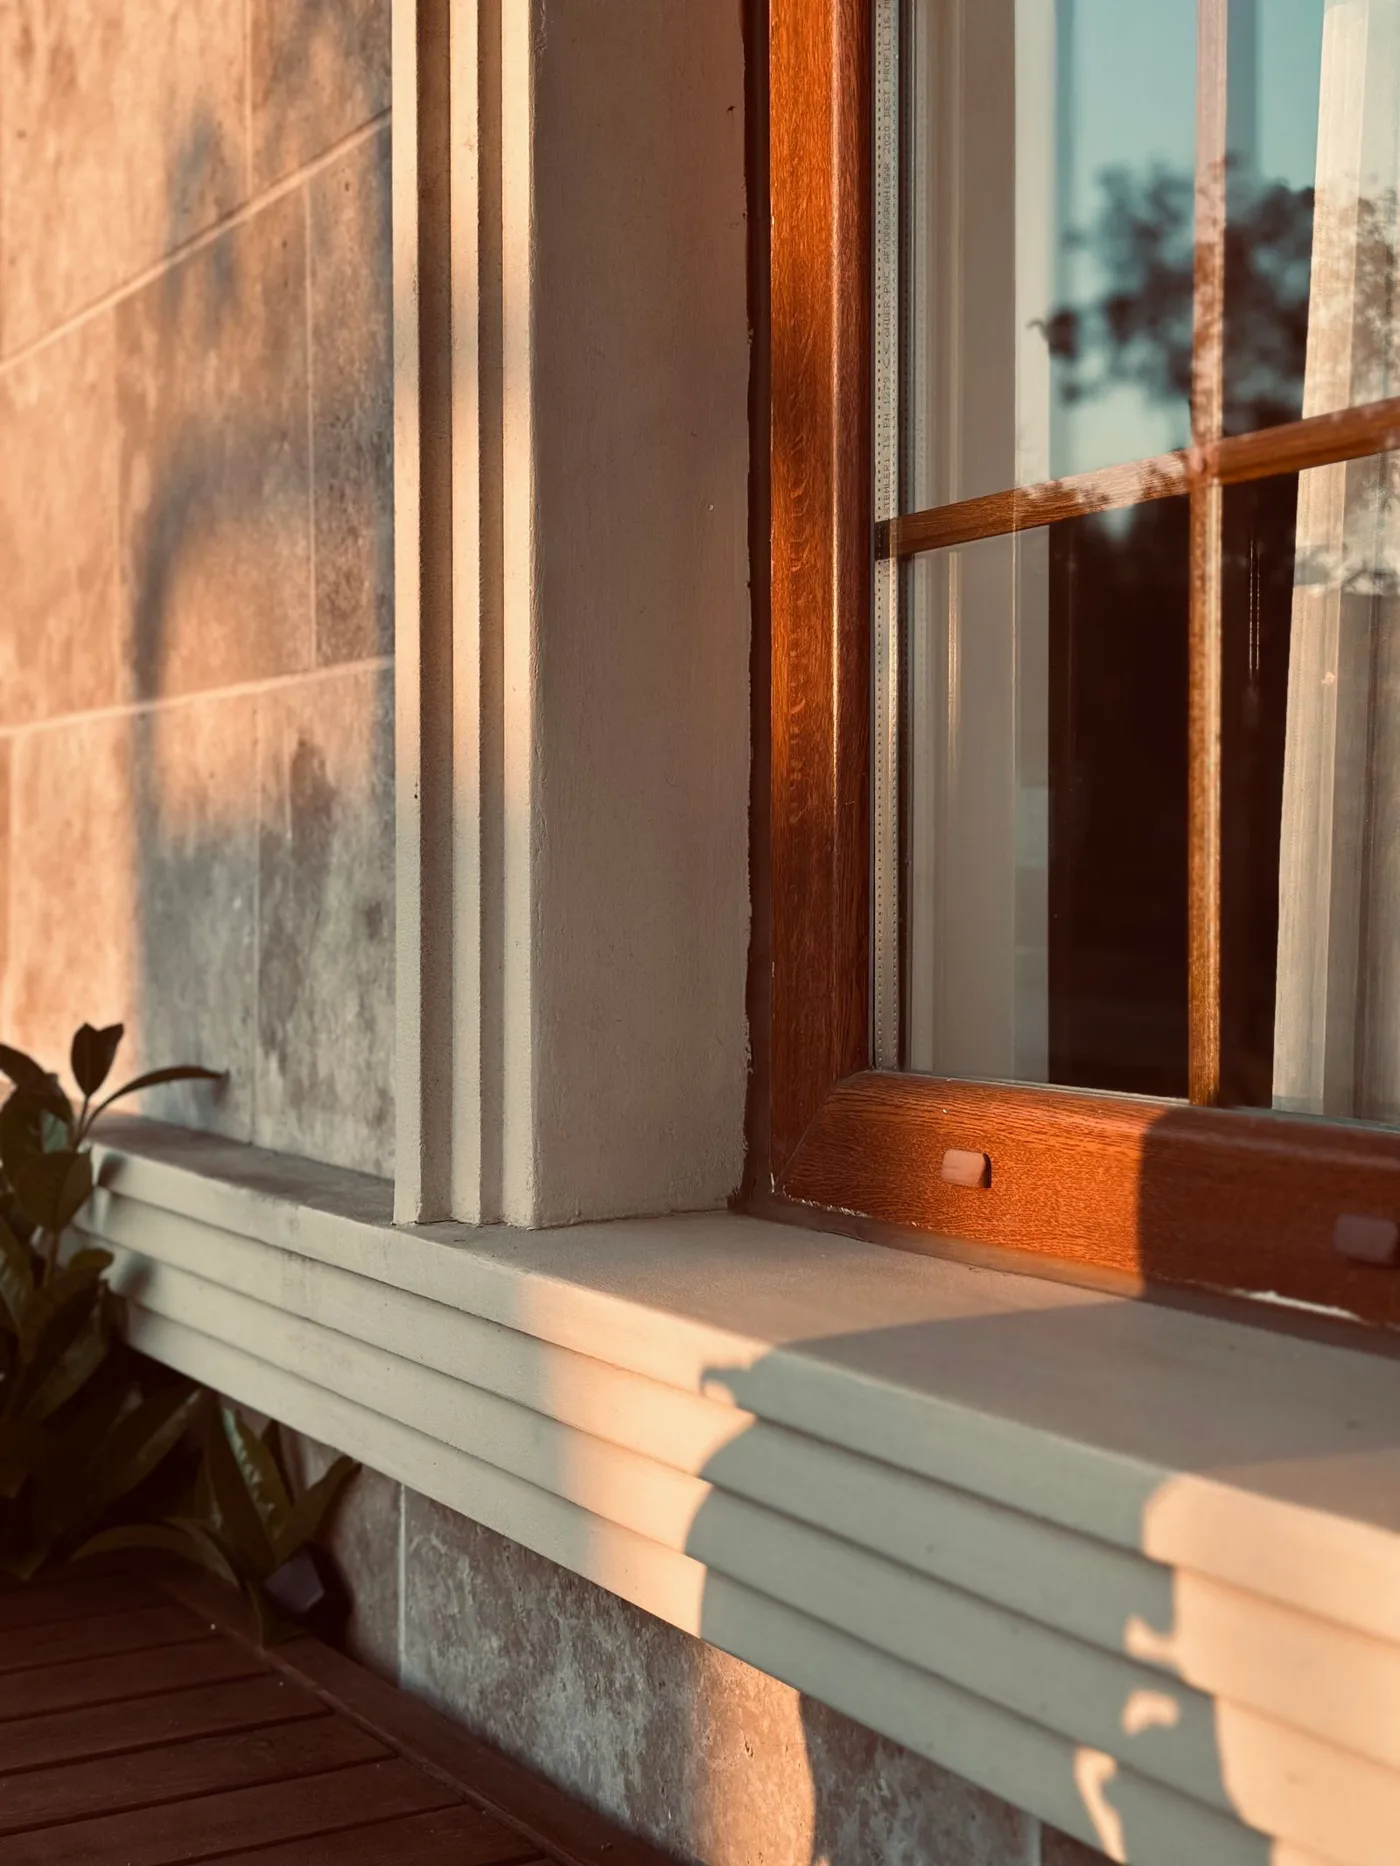
Look at accessible window and door perimeters without climbing or leaning out. Note cracking, missing sections, separation from the surface or staining nearby. Take a wide photograph to show the location and a closer view where it is safe to do so.
Do not press, scrape or pull at an old bead to test it. Older surrounding coatings and unknown materials may require precautions before disturbance. If an area is beyond reach, photograph it from below or arrange a properly equipped inspection.
Distinguish a joint from an intended opening
Windows, doors and cladding can include drainage or ventilation details. An opening that appears unfinished may be deliberate. Check the manufacturer's diagrams or ask the installer before sealing it. Blocking a designed water path can create a new problem.
Record whether the gap is new and whether nearby surfaces become wet after rain. A bead's appearance alone cannot confirm the route of water entry. The joint may be one part of a larger flashing or wall assembly.
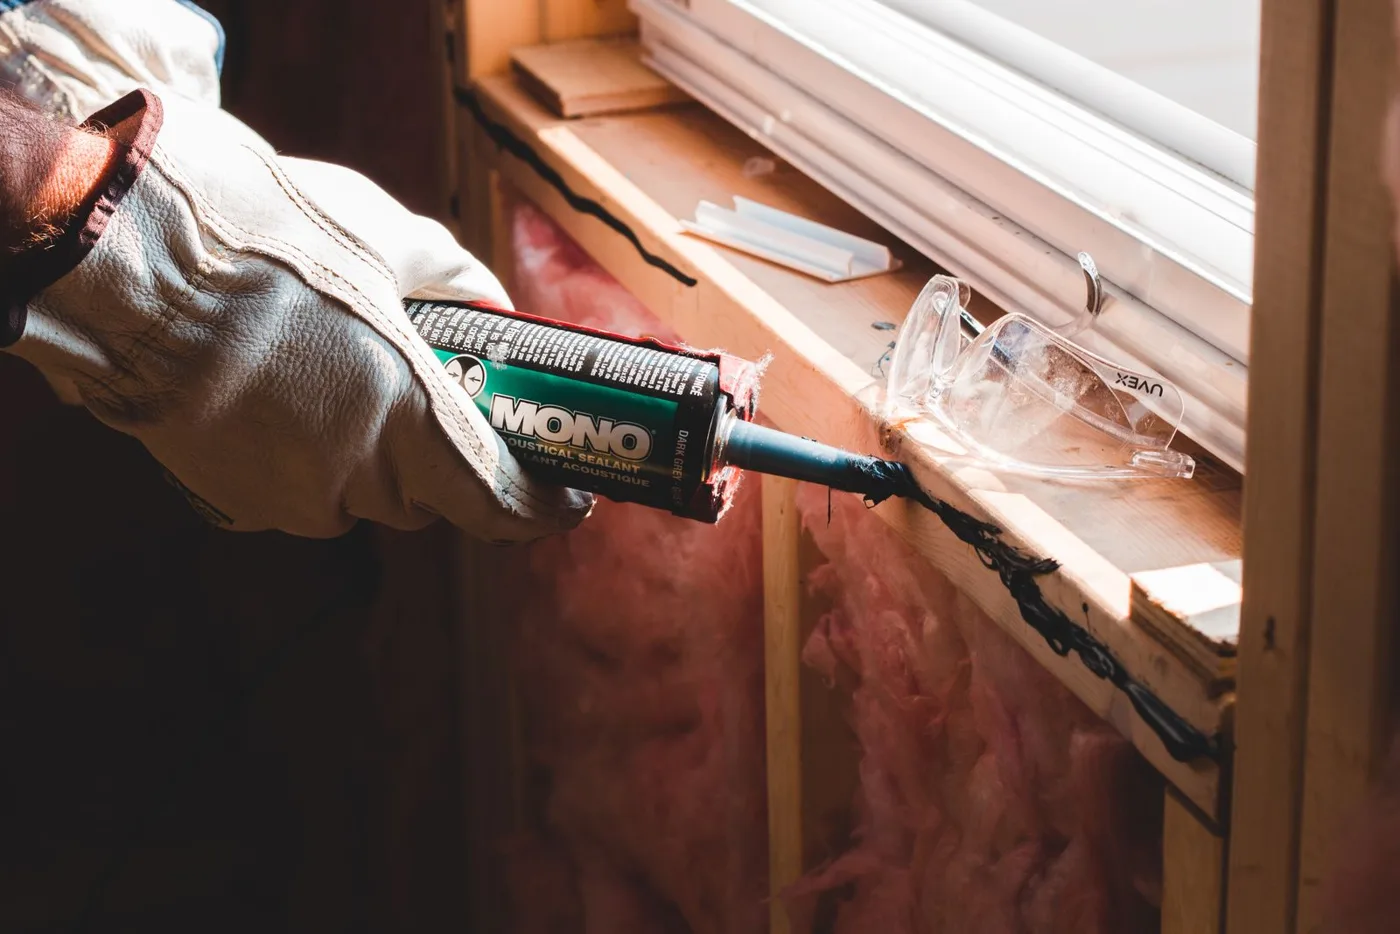
Do not apply a fresh bead over wet, dirty or failing material as a temporary cosmetic fix. Compatibility, joint size, movement and surface preparation all affect the repair. A contractor should identify the system before selecting a product.
Prepare a useful repair inquiry
Send photographs with the age of the installation if known and any previous repair history. Describe the observed condition rather than specifying a sealant solely by color. Ask whether the quote covers removal, preparation, compatible replacement and any underlying deterioration discovered.
If work uncovers rot, loose cladding or another damaged component, that should be assessed rather than hidden behind a wider bead. Agree how additional findings will be documented before work begins.
After repair, keep the product and location details in the house record. Follow the contractor's curing and inspection advice. Revisit the same area after suitable weather to check for recurring separation or moisture.
Routine observation is most helpful when it establishes a baseline. You do not need to examine every inch each week; a few consistent photographs and prompt attention to new changes can make a later professional visit more focused.