A sharp wooden edge may need a light softening, while a square edge on a fitted part may need to stay square. Those are different tasks. Before sanding, decide which surfaces can change and which dimensions must remain intact. That decision helps prevent an ordinary finishing job from turning into a rounded, uneven corner.
Decide which profile must remain
Examine the piece from the side as well as above. A shelf may have a deliberate bevel, a narrow veneer layer or a molded profile that should not be flattened. Pencil marks on known bare wood can help show where material is being removed, but test that they can be removed without leaving a stain. Do not mark a finished antique or unknown coating for an experiment.
Support the edge before sanding
Secure the work at a comfortable height with suitable padded clamps, leaving the area you need accessible. The piece should not slide as your hand reaches the end of a stroke. Keep clamp pressure away from delicate trim or unsupported edges. If the part cannot be supported without damage, change the setup rather than holding it precariously with one hand.
Use the support surface to control the abrasive
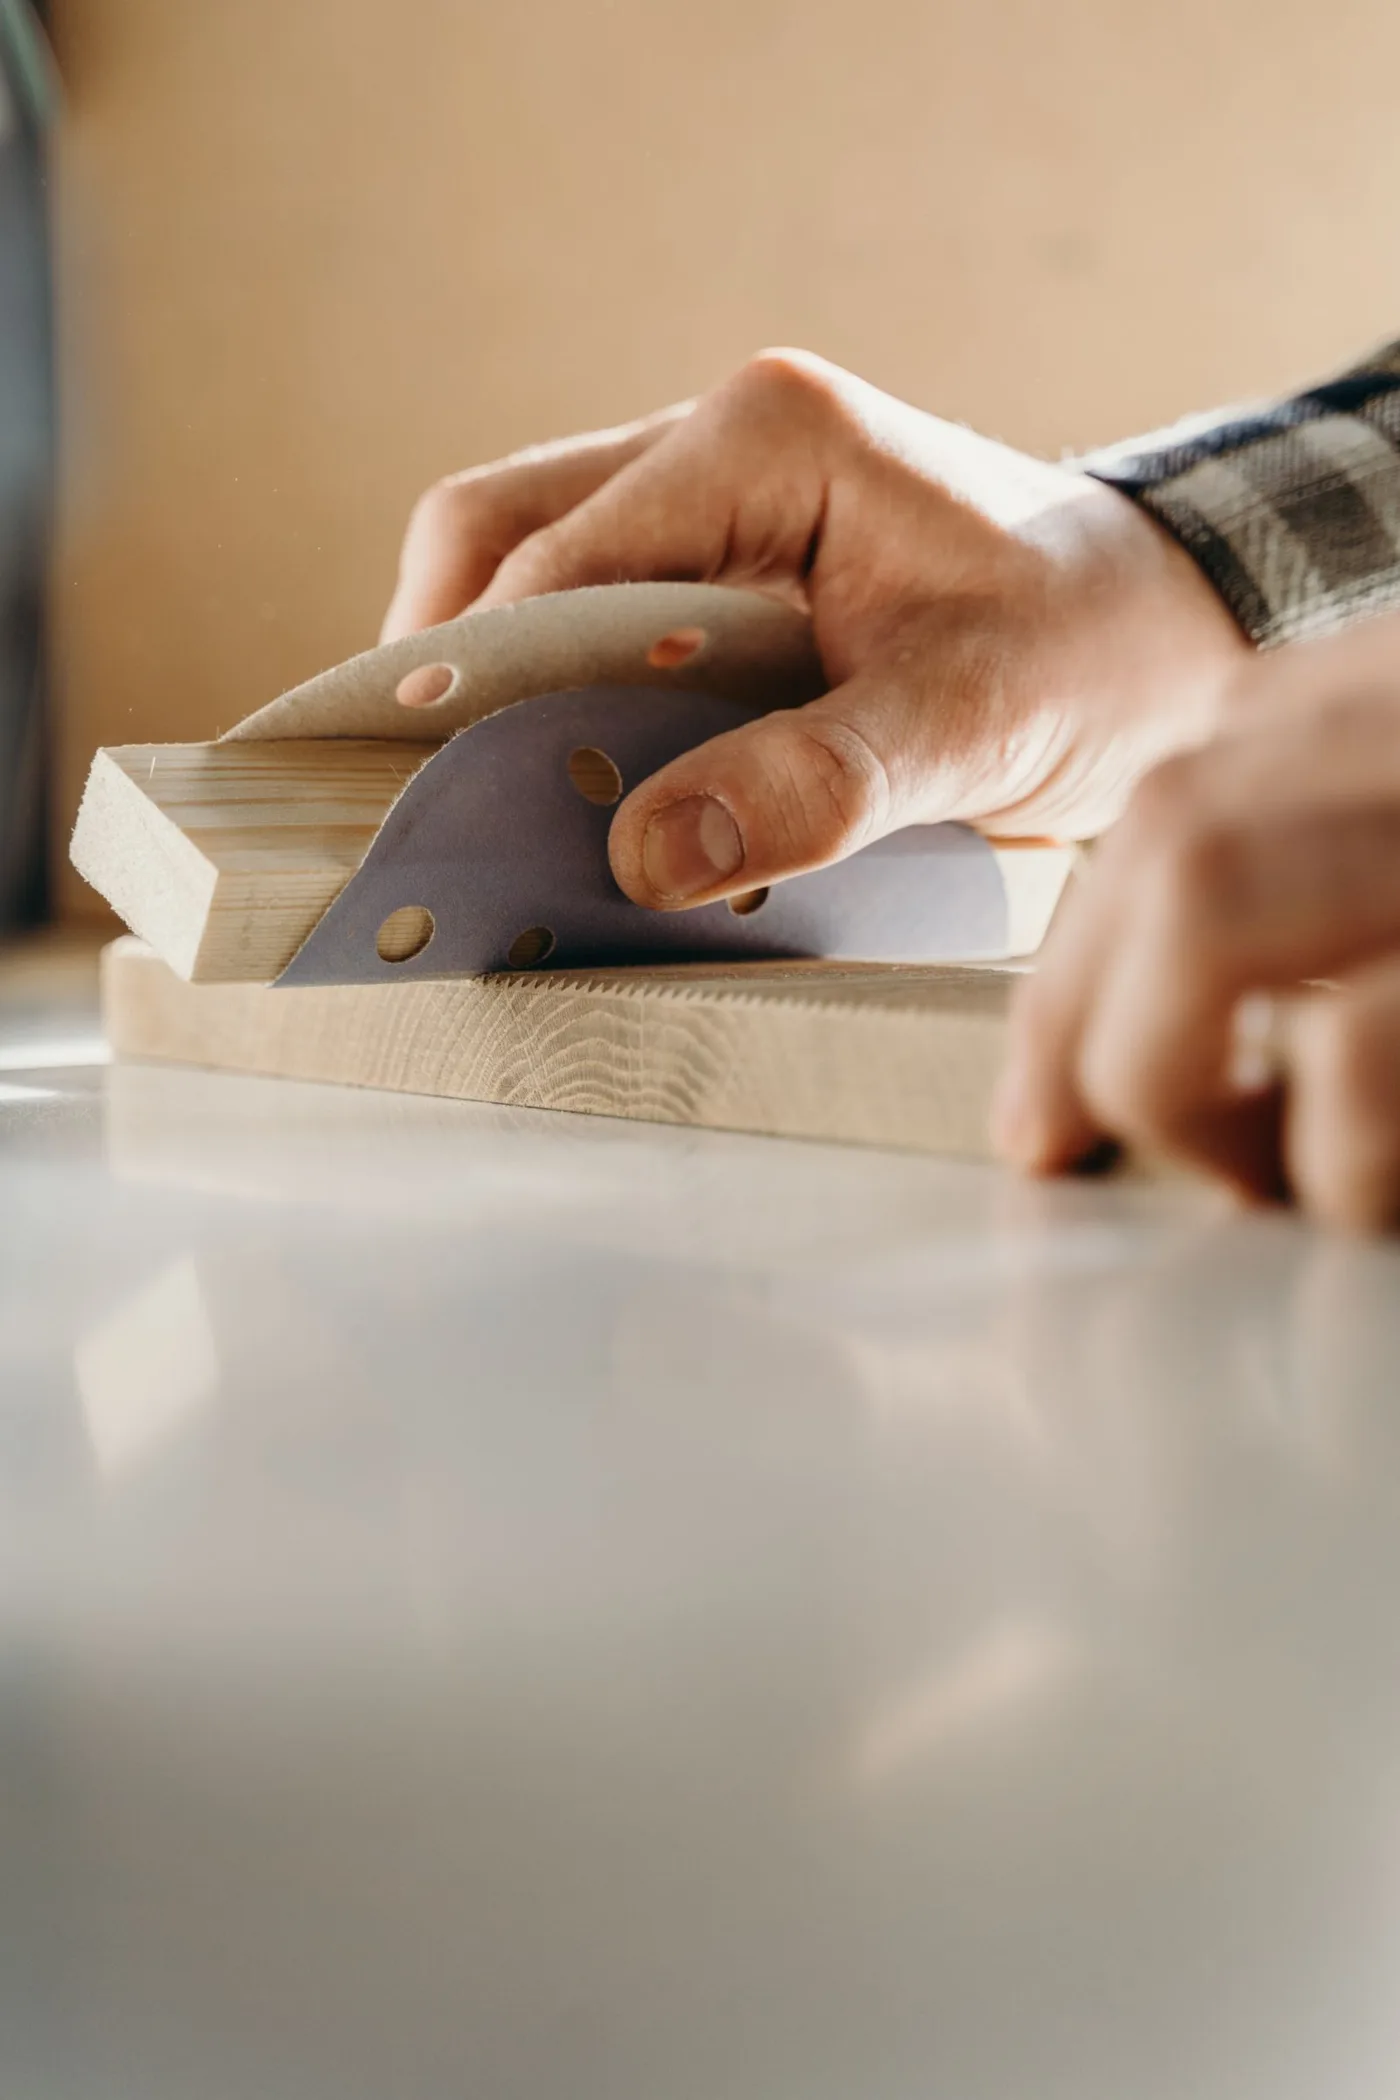
For a flat edge, wrap the selected sandpaper around a straight block and keep that block aligned with the face. Short, controlled strokes are easier to monitor than sweeping around the corner. Avoid allowing the block to roll over the edge at the end of every pass. That repeated movement is what often creates an unintended rounded profile.
Work only on known material that is safe to sand, with suitable dust control and protective equipment. Historic paint and unidentified finishes require assessment first. On a small bare-wood piece, check progress frequently by sight and touch after clearing dust safely. Stop when the roughness is removed; a smoother feel is not a reason to continue changing the shape.
Inspect the result before applying a finish
Look along the edge with light crossing it. Uneven rounding is often more visible after stain or a clear coat emphasizes the grain. Compare both ends and any matching pieces. If you need a deliberate softened edge, make the change consistently rather than removing much more at the corners where your hand naturally slows.
Use the finish manufacturer's recommended final preparation and test the coating on an offcut when possible. Keep sharp functional corners or mating surfaces as specified by the furniture design. Sanding cannot correct a badly fitted joint or make a damaged load-bearing component safe; those problems require repair decisions before cosmetic finishing begins.