A row of hooks can be parallel to a baseboard and still slope noticeably across the wall. Floors, ceilings and trim are useful visual references, but they are not reliable measuring instruments. Decide whether the job needs a truly level line or a deliberate alignment with an existing feature before making permanent marks.
Choose the reference that serves the job
Shelves holding round objects usually need to be level. A group of decorative pictures may also need to relate visually to furniture underneath. Start with the functional requirement, then stand back and consider the room. If a crooked ceiling makes a level line look strange, do not quietly tilt a functional shelf to disguise the problem.
For a picture grouping, paper outlines let you explore placement without drilling. Mark a central reference lightly, then locate each frame from that point rather than measuring upward from a floor that changes height. Work from one consistent baseline so small errors do not accumulate as you move across the arrangement.
Check the level before trusting the bubble
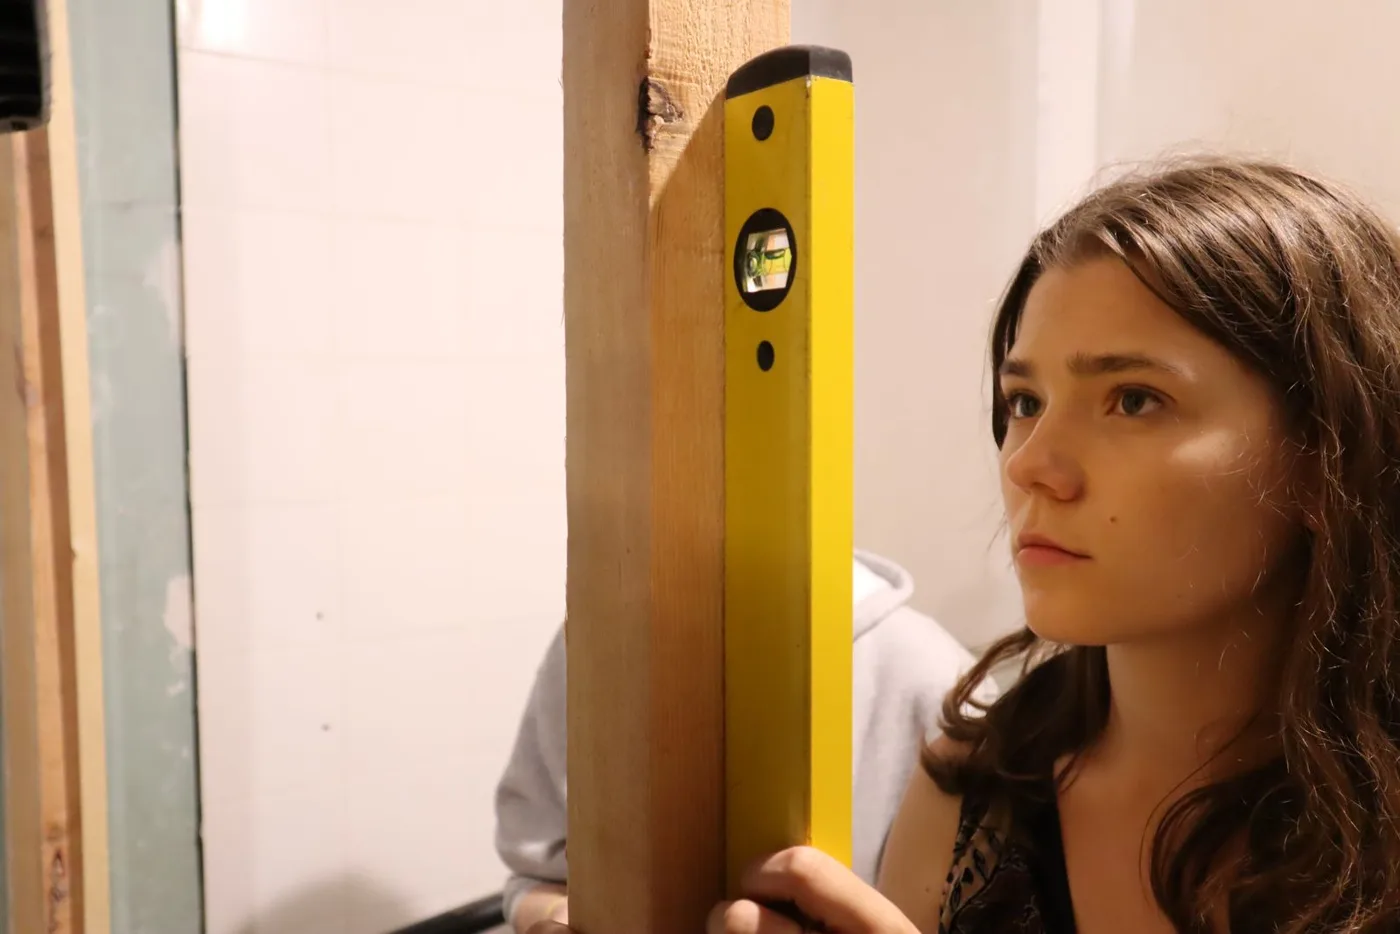
Inspect a spirit level for a damaged edge or loose vial. On the same stable surface, note the bubble position, reverse the level end for end, and compare the reading. An inconsistent result means the tool needs checking or replacement before it guides a visible installation. Keep dust and paint flakes from sitting under its edge.
Hold the level against the surface without forcing it over bumps. Mark small points along the working edge, then join them with a suitable straightedge if a longer line is needed. A short level repositioned repeatedly can spread an early error, so recheck from the original reference instead of treating every new mark as unquestionable.
Keep marks temporary until the layout is settled
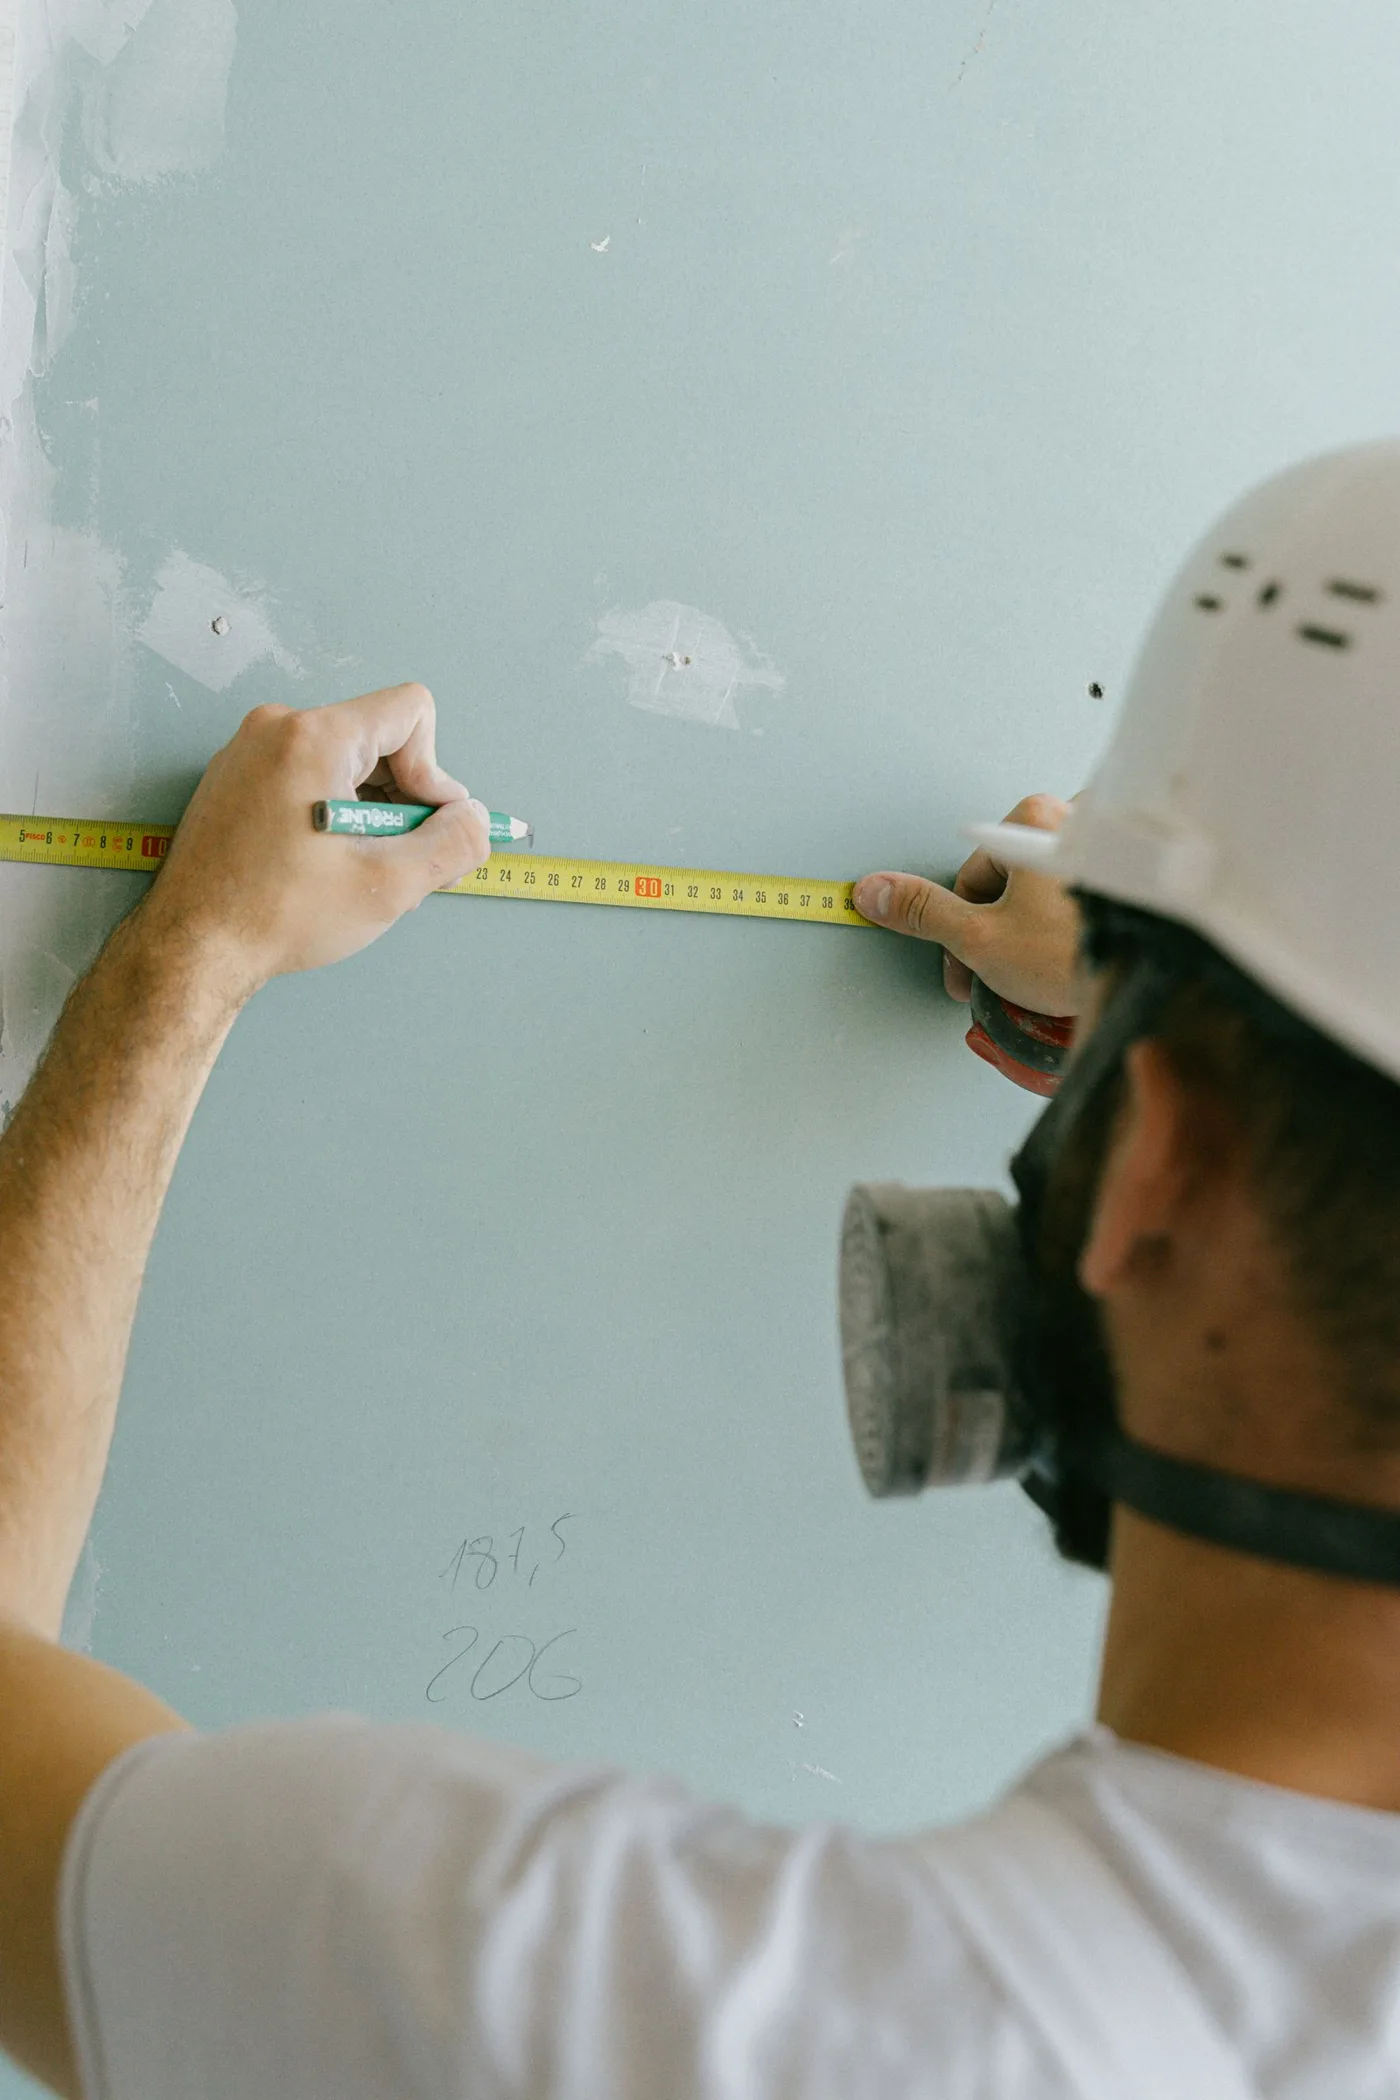
Use a pencil or another removable marking method that suits the finish. Test any tape in a hidden spot and respect its removal instructions; fragile paint or wallpaper may not tolerate it. Avoid heavy lines that require aggressive rubbing or repainting to remove. A tiny mark at a bracket location is usually more useful than drawing across an entire room.
A straight line is only the layout
Before any hole is made, check the mounting height, spacing, wall construction and possible concealed services. Level does not mean safe to drill. If the wall cannot be assessed confidently, choose a non-penetrating alternative suitable for the load or ask an installer. Once the marks are confirmed, save the measurements so the second bracket can be positioned from evidence rather than guesswork.