The lines between bathroom tiles are not necessarily all the same material. Rigid grout fills many joints, while flexible sealant often appears where surfaces meet. Treating both with a stiff brush and a strong cleaner can disguise the difference until something begins to crumble or peel.
Inspect a few representative joints
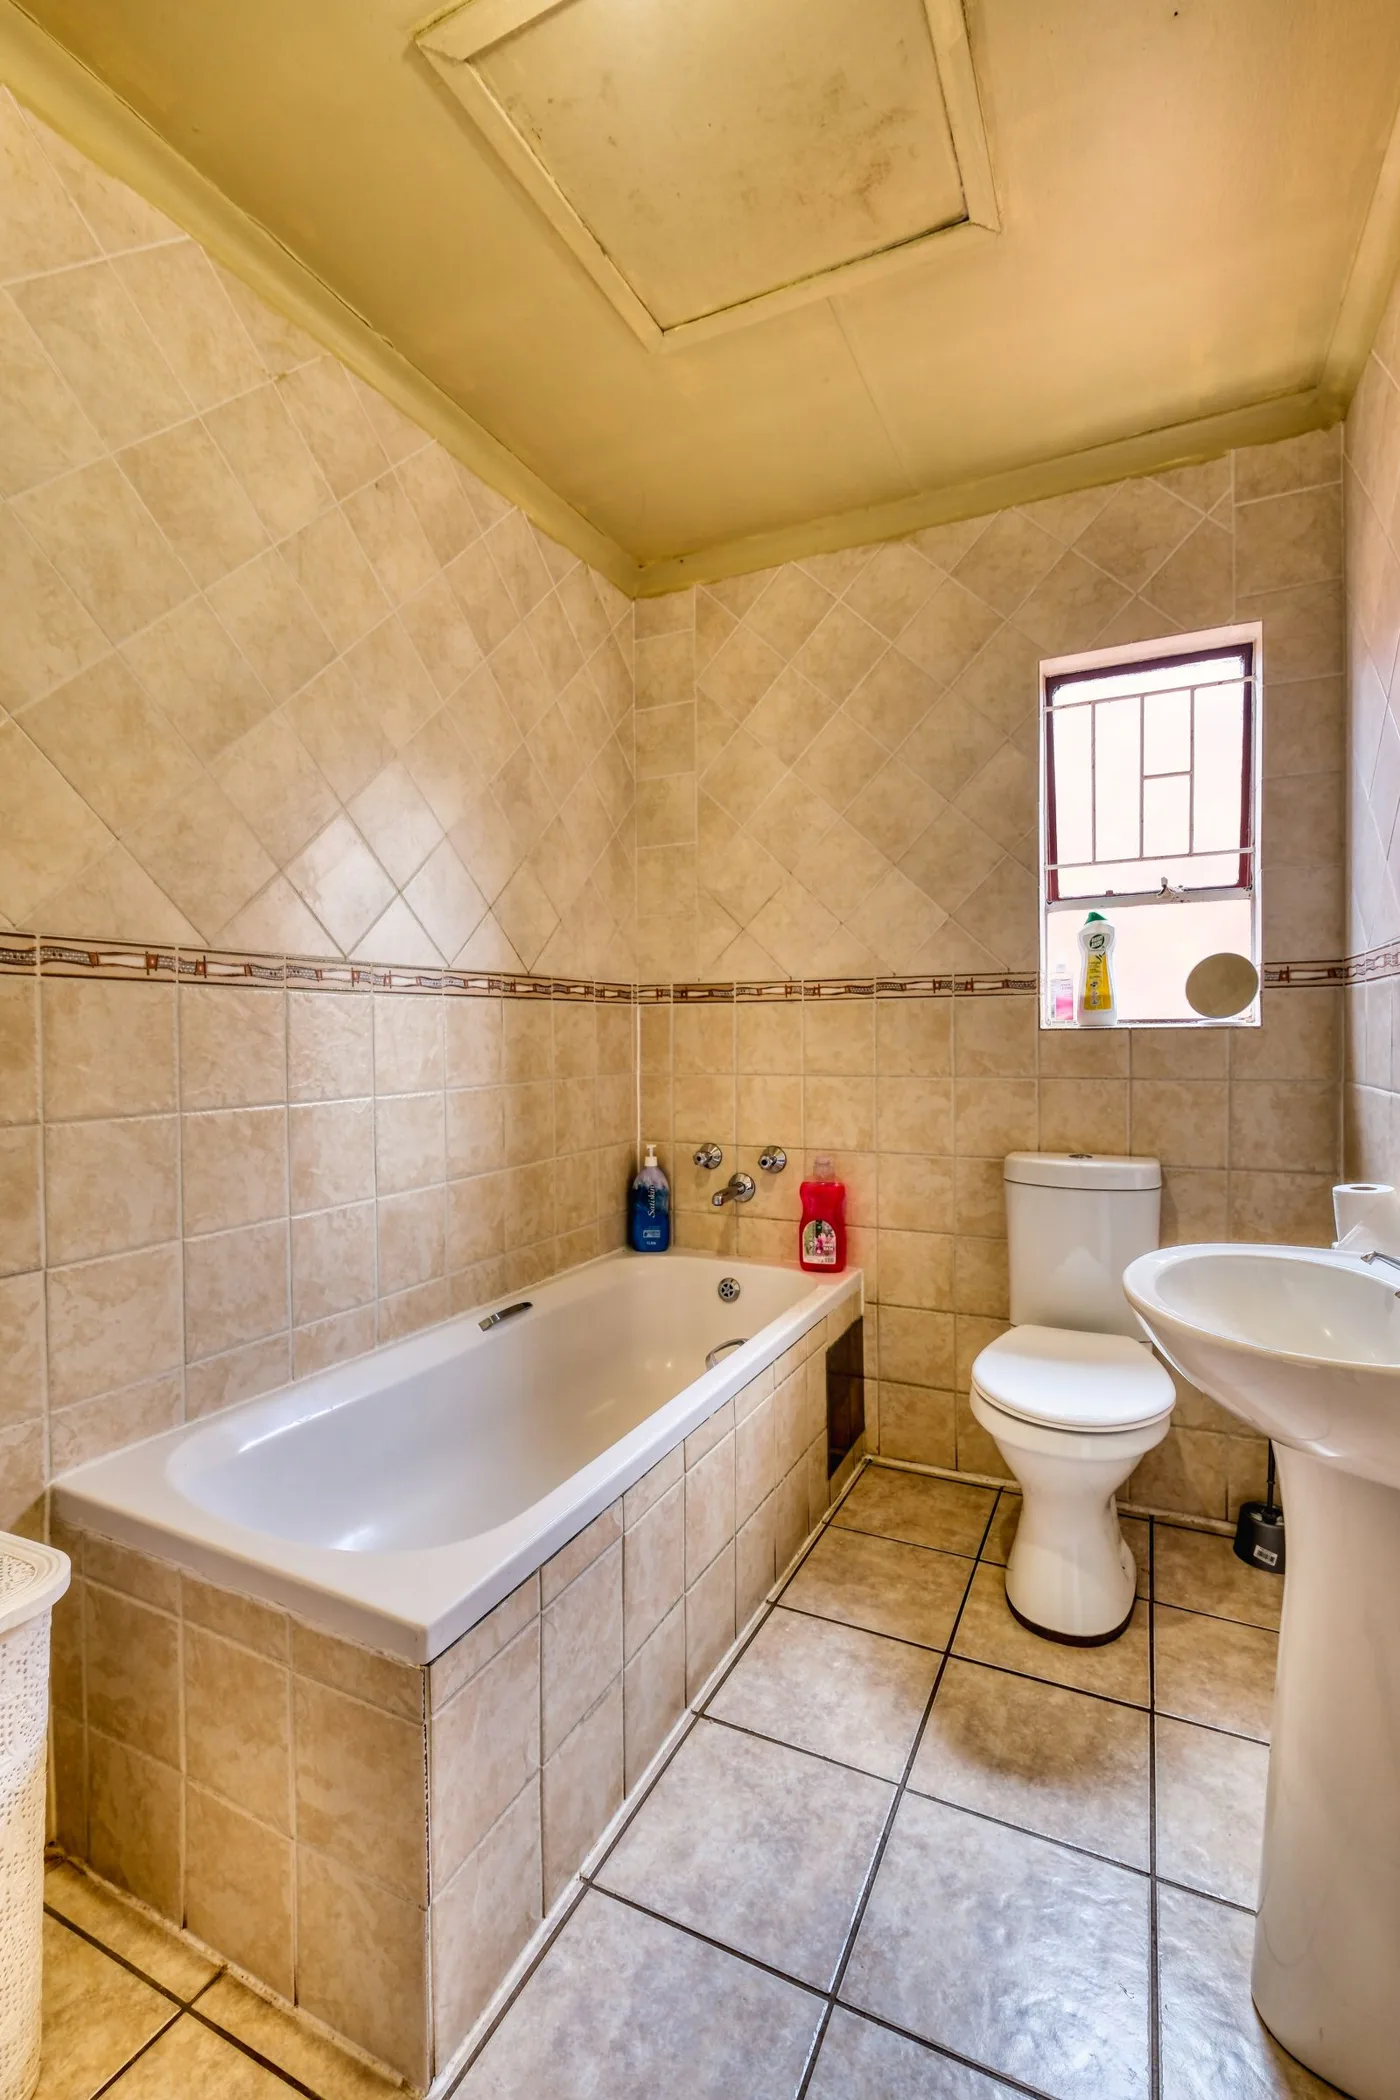
Look at a flat tiled area, an inside corner and the line beside the tub or shower base. Note whether the material is firm, flexible, cracked or missing. Photograph damaged areas before cleaning. Color alone does not tell you whether the joint is dirty, stained or failing.
Check the tile as well as the joint. Natural stone and some decorative surfaces need particular care. If the installation records identify the grout or sealer, use their instructions. A product described as suitable for tile is not automatically suitable for every tile-and-grout combination.
Clean a small area and let it dry
Begin with the approved gentle cleaner and a soft brush that fits the joint without gouging it. Use light pressure rather than trying to make an old joint match a new one. Remove residue as directed and inspect the test area after it has dried.
Do not combine a descaler with another cleaning product, and avoid improvised acid treatments near stone or cement-based materials. If a stronger product is being considered, the manufacturer should confirm compatibility with the grout, sealer and adjoining tile.
Work in sections small enough to rinse or wipe within the product's instructions. Pay attention to the bottom of the wall, where dirty solution may collect. Keep flexible sealant treatment separate and stop if its edge lifts or the material pulls away.
Decide whether the next job is repair
A dark line that returns quickly, a persistently damp joint or movement beneath a tile deserves investigation. Cleaning cannot restore missing grout or the water-management system behind a shower. Do not simply coat over a wet or damaged area to make it look uniform.
Record the exact location of cracks and whether they change. A close photograph with a wider view helps an installer understand the pattern. Describe recurring wetness and recent work rather than diagnosing the cause yourself.
For ordinary upkeep, remove soap residue before it builds into a thick layer and let surfaces dry between uses where possible. Keep a gentle brush reserved for this task. If the joint stays sound but retains a stable stain, ask about an approved restoration option instead of wearing away its surface through repeated scrubbing.