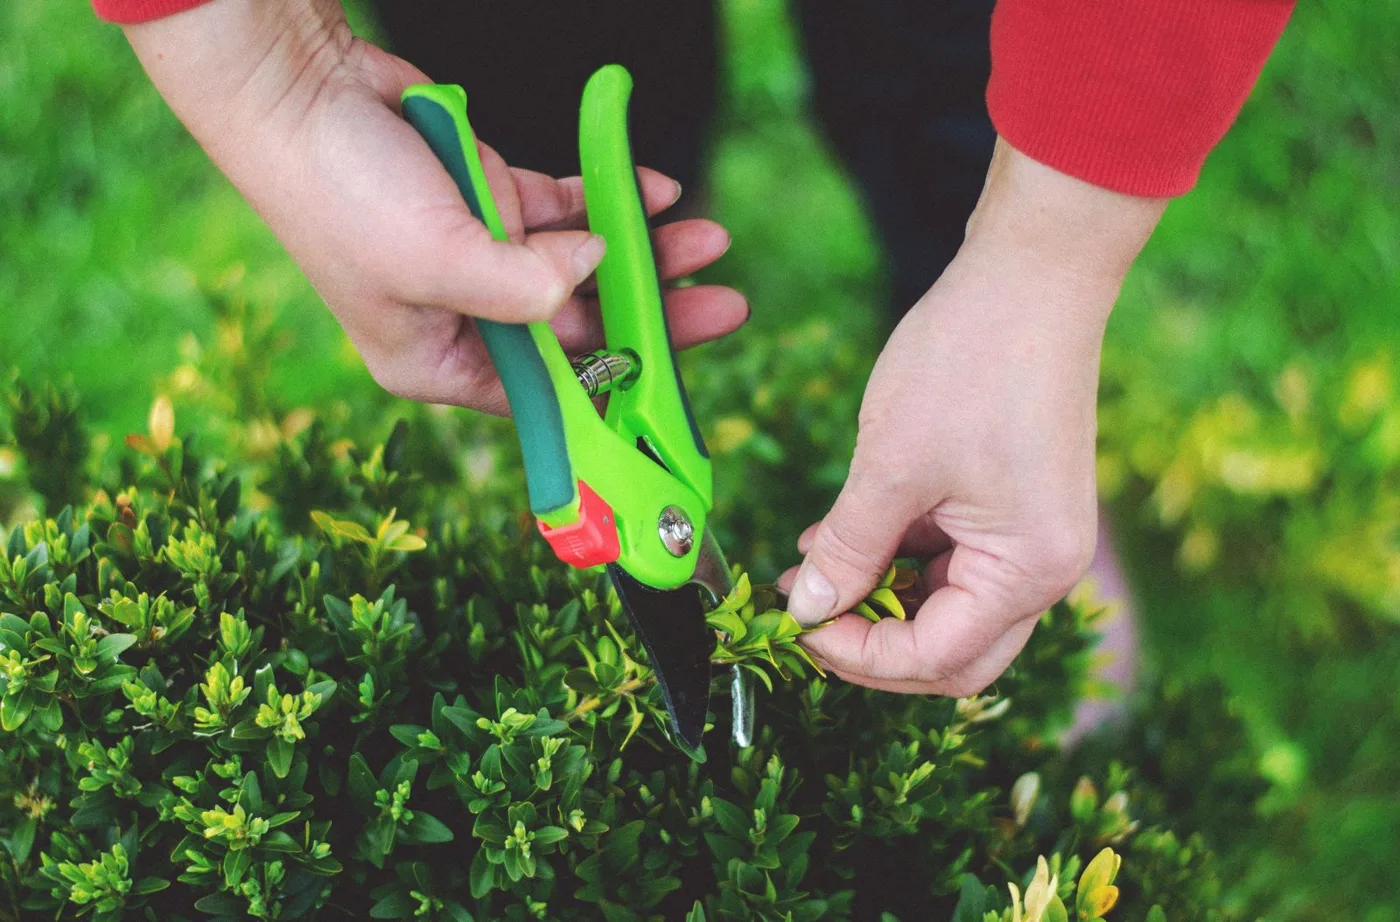
Removing sap from pruners and disinfecting them are related but different jobs. Dirt and plant residue can interfere with moving parts, while contaminated cutting tools can move some plant diseases between cuts or plants. A useful routine separates mechanical cleaning, any needed disinfection and the final drying that protects the tool.
Begin with a secure tool
Work on a stable surface with the blades controlled according to the pruner's instructions. Wear appropriate hand and eye protection, and keep fingers away from the cutting edge. Do not hold an open blade loosely while scrubbing toward your hand. If the locking catch, spring or handle is damaged, repair or replace the tool before using it again.
Identify the tool model and its approved cleaning products. Coated blades, plastic grips and seals may not tolerate every solvent. Remove loose soil and plant material with a suitable brush, then address sticky residue using the manufacturer's method. Avoid immersing the entire tool if its instructions call for surface cleaning.
Decide whether disinfection is needed
University of Minnesota Extension distinguishes cleaning from disinfection and recommends attention to tools used around diseased plants or moved between garden sites. The method may depend on the suspected plant disease and the product being used. A quick wipe that leaves visible sap is not the same as a correctly completed disinfection process.
If a plant has unusual symptoms, photograph it and seek identification from a local extension service before assuming that pruning is the solution. Some problems require different timing or disposal. Keep the affected plant's tools separate until the appropriate cleanup method is known, rather than continuing through the whole border with the same blades.
Follow the selected product, not a homemade mixture
Use a disinfectant appropriate for the tool and the identified purpose, following its label for concentration, contact time, ventilation and protective equipment. Do not mix products or shorten the contact time because the blades look wet. Keep the work away from food-preparation areas, children and pets.
If the product requires rinsing, do that as directed; then dry the tool thoroughly. Some products can corrode metal or damage handles if left in contact longer than intended. Consult the tool maker if the extension recommendation and the material-care instructions appear to conflict. The goal is a method that is effective without making the tool unsafe to hold or use.
Restore movement and store safely
Inspect the pivot and blades after cleaning. Apply only the lubricant recommended for the tool, in the amount and location specified. Wipe away excess that could collect dirt or transfer unnecessarily to plants. Sharpening and blade replacement are separate maintenance tasks; do not grind a blade while improvising the rest of the cleanup.
Close and lock the tool for storage where its edge is protected and inaccessible to children. Keep a small cleaning kit with the pruners so routine care is not postponed until residue hardens. When disease-specific precautions are required, write them down with the plant's name and date. That record makes the next gardening session easier to manage consistently.